Having created a test using our blocks and elements, we can view the code that is generated for the test using the Code View.
To open the code view click the Show code button on the test workspace:

The code is displayed for the test, selecting a block in our test will highlight the code that relates to the block:

We can select None from the Test Framework drop-down to remove any framework specific code, in this case, the Scriptworks logging code:

We can run the test code directly from Scriptworks using the Scriptworks selection in the Test Framework drop down. Ensure Scriptworks is selected and hide the code window using the Hide code button:

We can now target a specific Browser for replay, using the run settings dropdown next to the play button:

The default selection will attempt to run the test in Chrome using a locally hosted Selenium server (What is Selenium?). See the topic: Scriptworks client installation
Additional run settings can be configured in the Run Settings section of the project. Here we can configure target environments, including remote infrastructure, or cloud providers such as Sauce Labs or Bitbar.
More on this topic will be available soon!
We can confirm the client is installed and up to date prior to execution through the status indicator at the top right of the page:

An amber indicator shows that whilst the client is running it is not up to date, this can be updated by re-running the install process, see: Scriptworks client installation
Clicking the Play button will execute the test using the desired Run Settings, in this case we have selected Firefox as our target Browser:
You will notice that the test failed! (In some situations the test may pass, but we can make it consistent later on).
Let's investigate why using the results, click on the Session Id for the Test to open more detail:

Increase the size of the results section using the resize bar and you can see the failed step:

Click on the Failed step in the table to highlight it and an automatically captured screenshot is shown in the right hand pane:

Click on the screenshot image to magnify it:
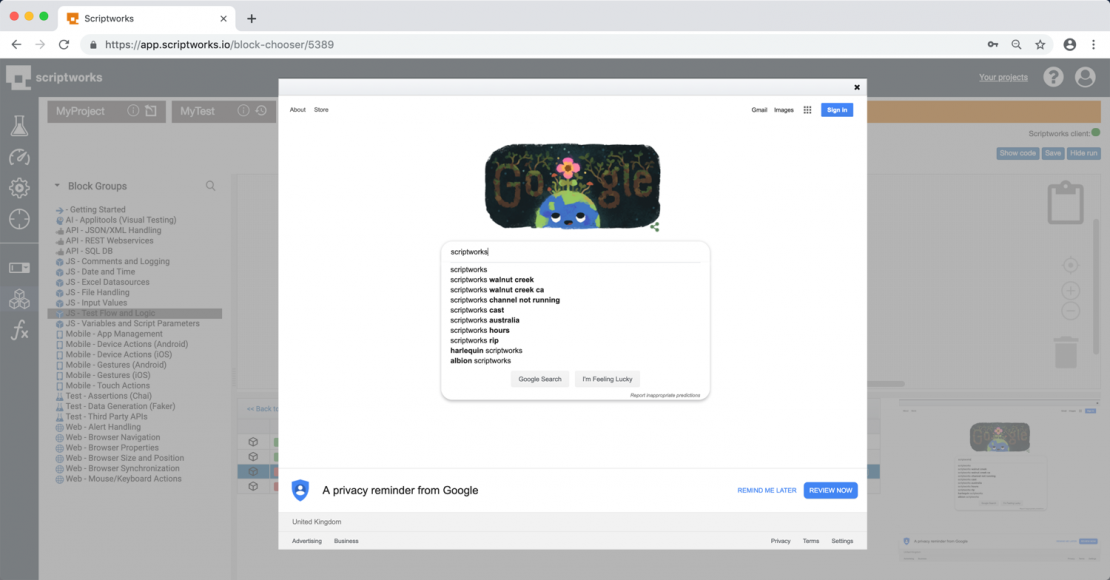
Here we can see that the auto-suggestion list is rendering whilst the test is running, and the error message implies that the element could not be accessed or scrolled into view at that point.
ERROR: Element <input name="btnK" type="submit"> could not be scrolled into view
We can introduce the concept of a Synchronisation step to wait for the Element to become visible before continuing the test, a short video will show the steps for remedying our failed test:
So our final test looks like this, complete with Validation and Synchronisation:

That completes the Getting Started tutorial.